15mm Samurai, L'Art de le Guerre, Dark Ages
Terrain & Figures
For Burton Doubles 2018 a painted Samurai army will finally take to the table. Samurai may or may not be any good in L'Art de la Guerre (although I did get beaten by one several years ago when I was very green at playing the ruleset), but this weekend is the time to find out. I've never fielded one under any ruleset so putting Samurai on table was always going to be something of a big deal. That meant as well as sorting out the army I have been inspired/motivated/insane enough to create some specially designed terrain as well, all of which is covered on this page.
I've never actually paid someone else to paint an army for me ever, so all of the stuff you see on this website is (pretty much, apart from a few eBay odds and sods) painted by me. However, Samurai is the one army I've always been reluctant to paint up - partly as I was sort of hoping that my painting was gradually getting better, and partly as I was putting off paying someone to do so. But, finally, that bullet got bitten..and here they are, a Samurai army painted by Lurkio!

This is the full army - enough bases for a 300+ point army with a mix of Medium and Close Order foot swordsmen, lots of bowmen, a decent mounted wing and a smattering of other bits and pieces.
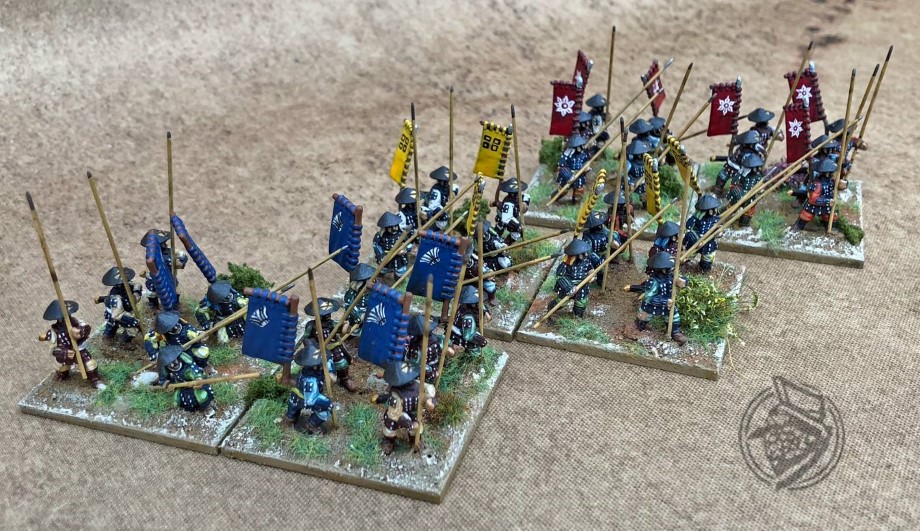
6 bases of Ashigaru. Medium Spearmen, inferior - really they function as padding but at a pinch could be sent into combat against an enemy breaking through the line
These guys are painted by Lurkio
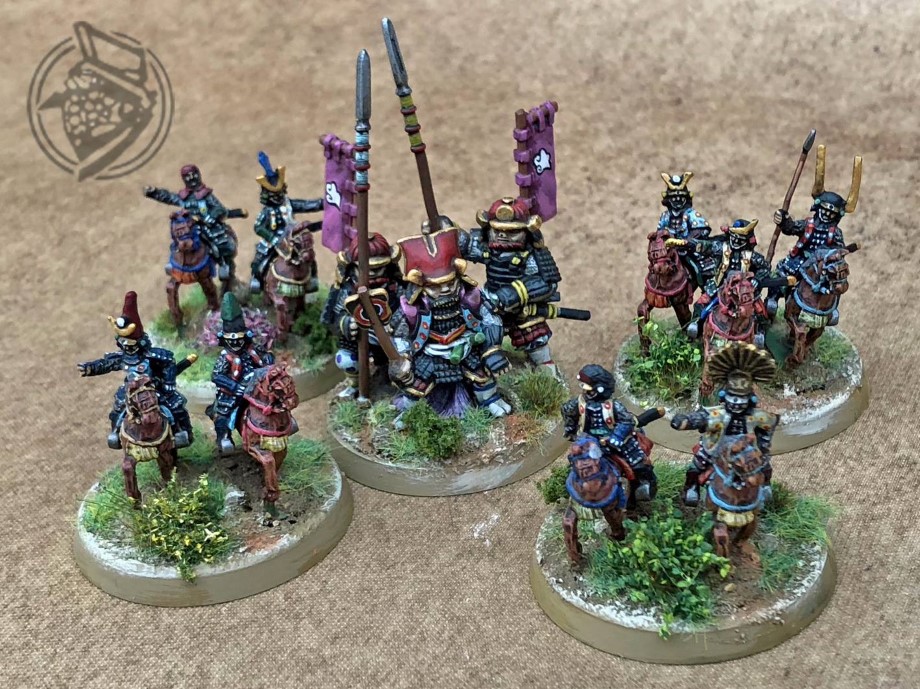
The Generals - including a 28mm Dixon Miniatures figure as a Strategist commander. Most of the rest of the figures are Old Glory. |
 |
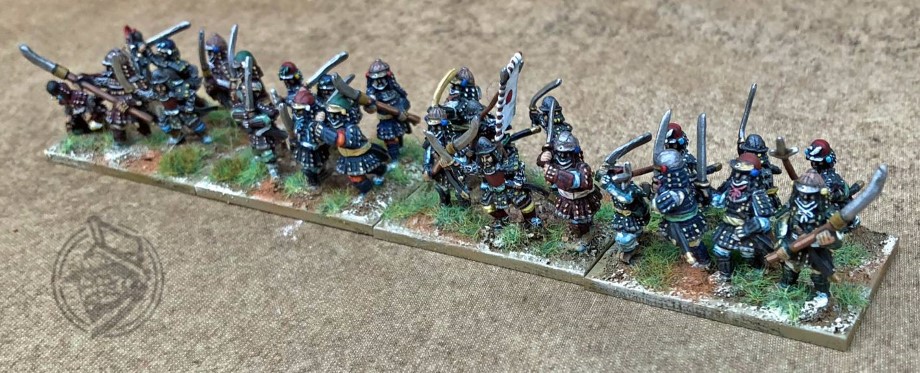
Heavy Foot Swordsmen - in most armies these can stand in the open and tough it out against most opponents, infantry or mounted. Will almost certainly be fielded as Elite.
These guys are painted by Lurkio
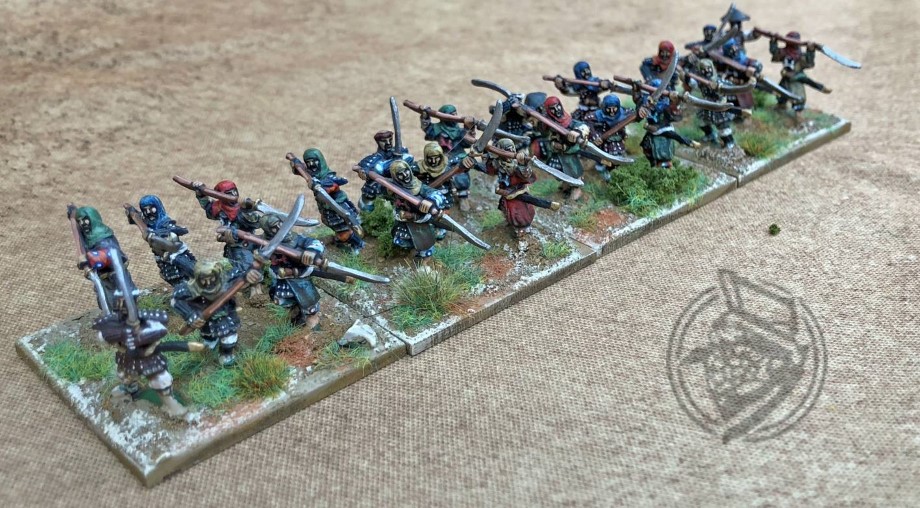
Medium Foot Warrior Monk allied contingent - sweeping through terrain in a monastic sort of way to support the proper Samurai
The collection
An ADLG army is much more achievable in terms of painting and collecting than for other rulesets, so I'd bought a load of figures from (mostly) Old Glory to give me pretty much all of the options for both Samurai lists in the ADLG rulebook. That might mean some of the history is a bit off, but hey, they have sahimono's and they are cool so who cares huh?
The army is pretttyn much as follows
These guys are painted by Lurkio
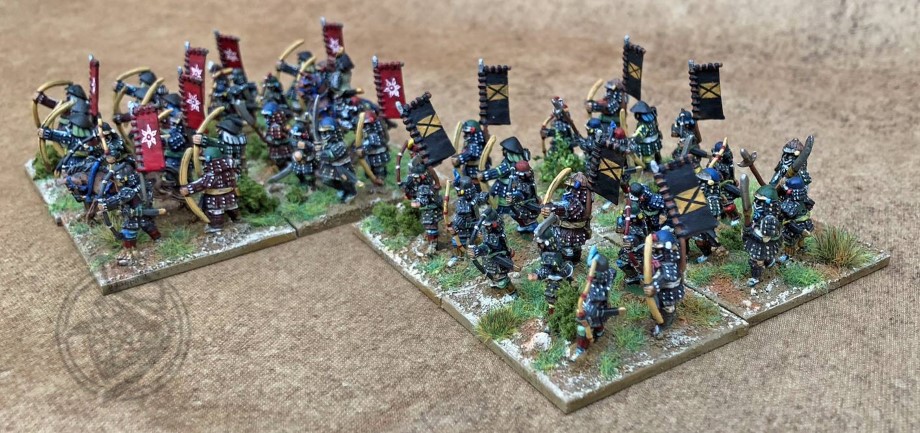
Bowmen - the legendary. I requested that they be painted up in a mixture of 'uniformed' Samurai clansmen and independent ronin-type men with personal back banners.
Samurai Archery
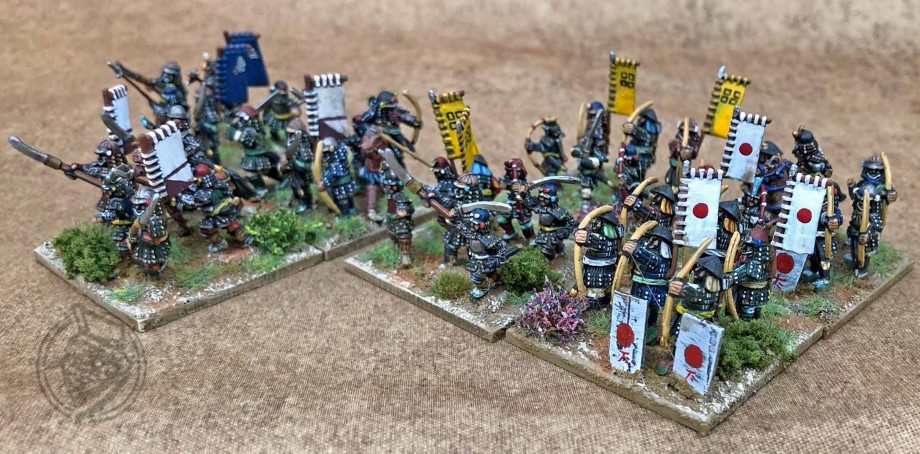
Some of the bowmen can be fielded with Pavises, and others are lower quality Ashigaru bowmen. Uniquely, Samurai bowmen in ADLG can also be equipped with swords - hence the mix of sword and bow armed figures here.
These guys are painted by Lurkio
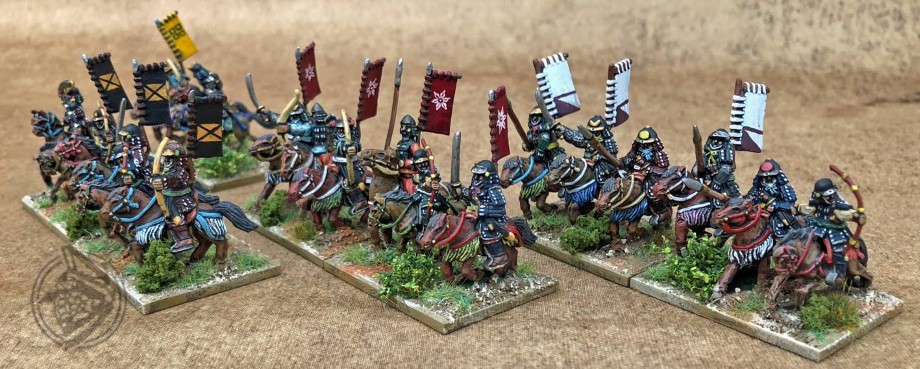
Old school DBM "CvS", armed with bow and enjoying Elite status - perfectly capable of taking on most cavalry in the game, either shooting and evading or standing for combat.
Mounted Samurai Archery
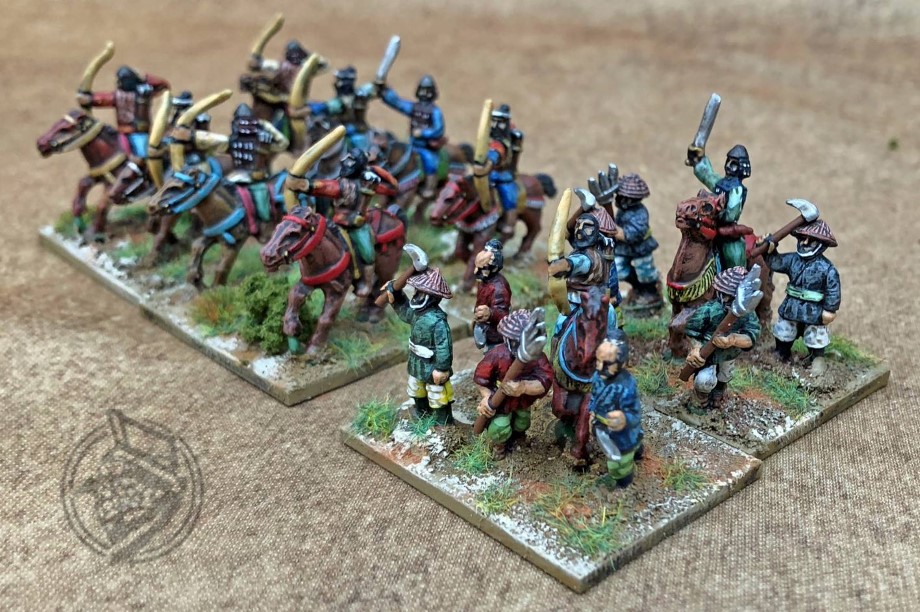
Levy infantry (with the odd mounted bowman in the mix) and the northern barbarian Emeshi Light Horse bowmen.
These guys are painted by Lurkio

The Full Set
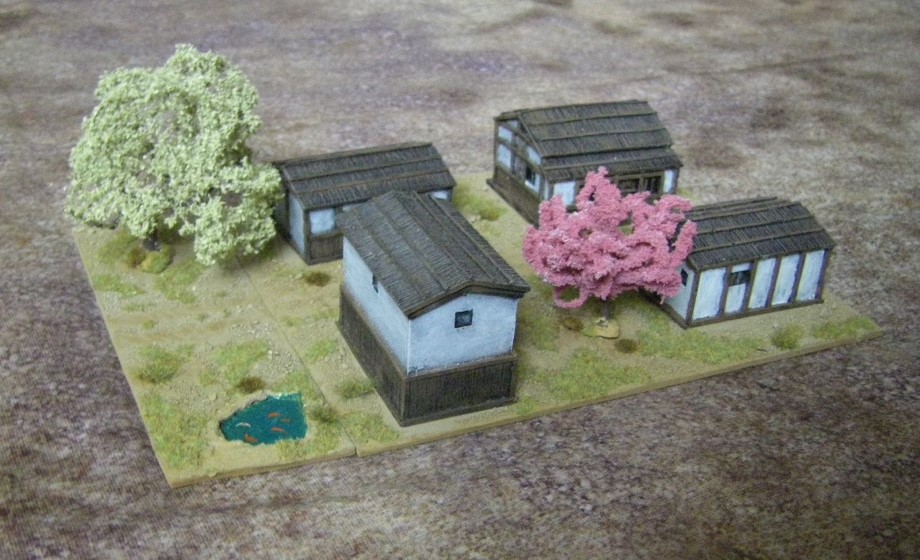
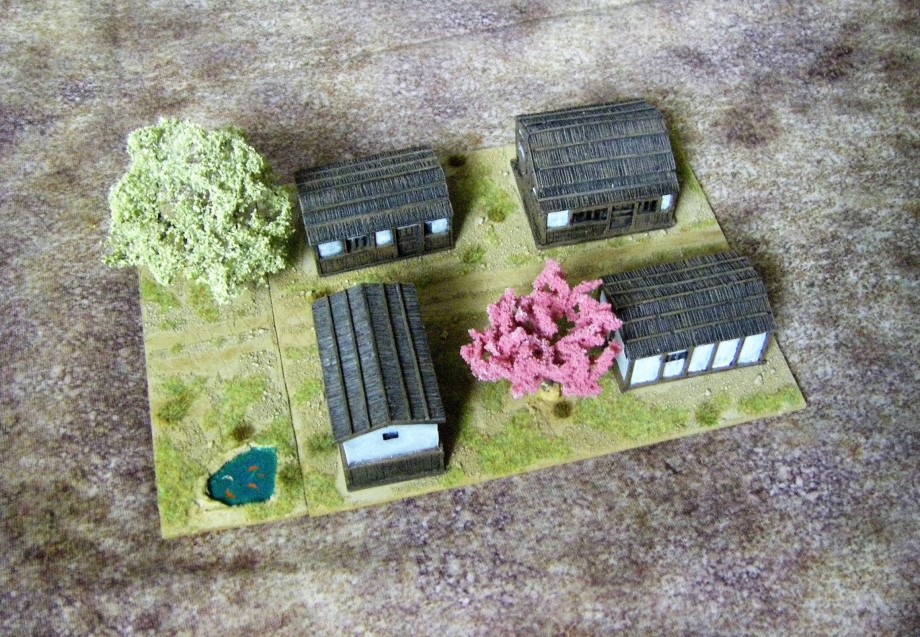
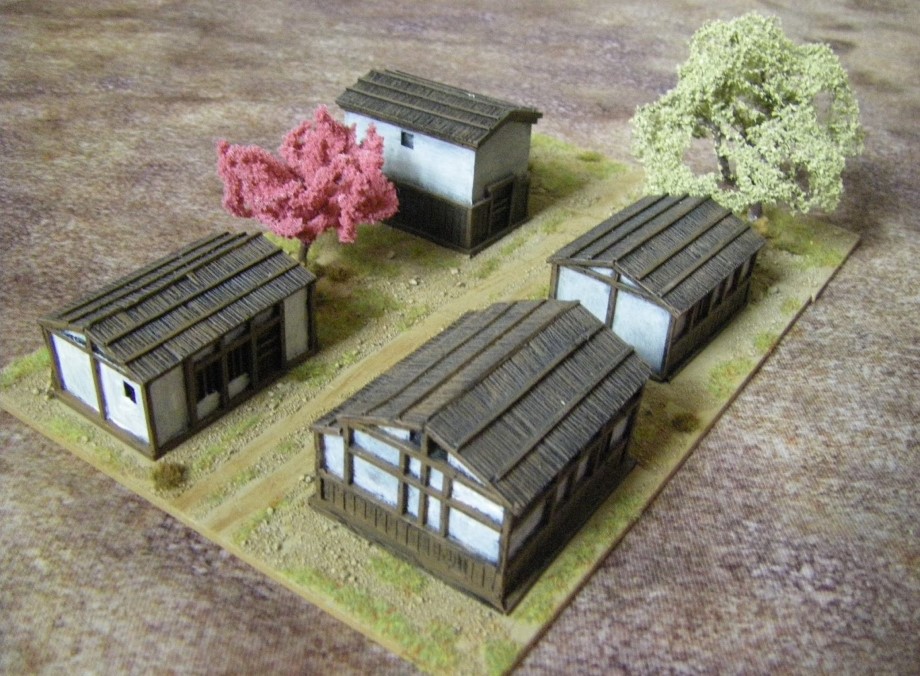
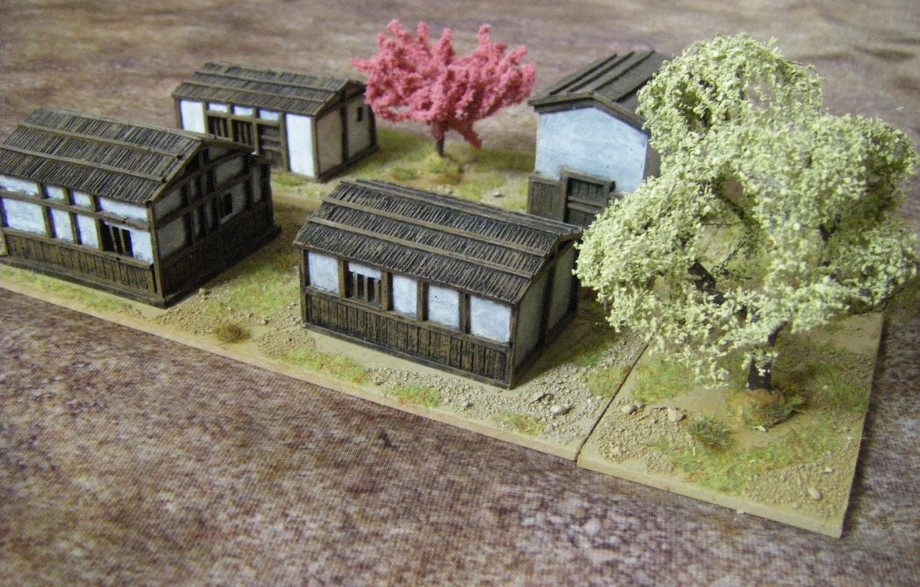
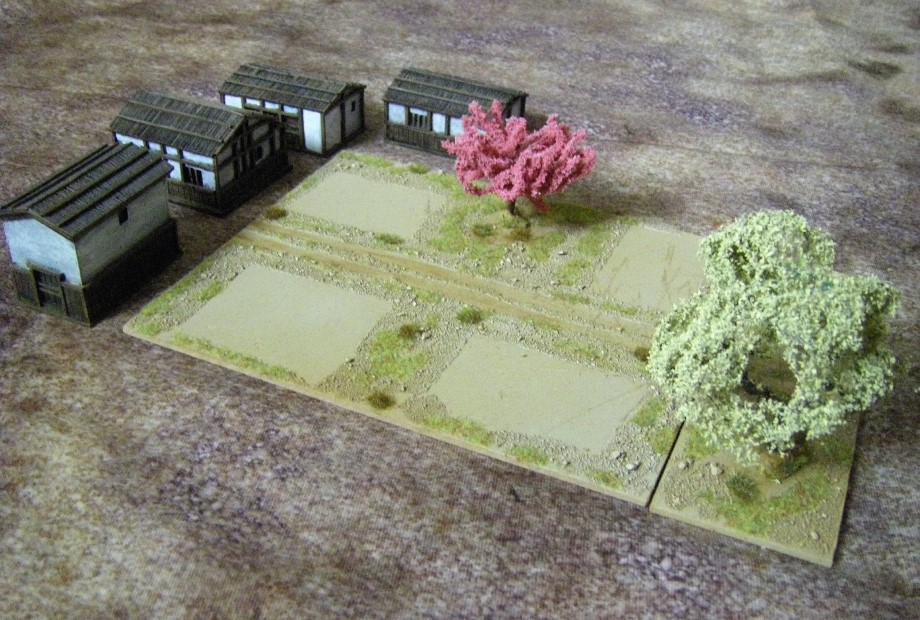
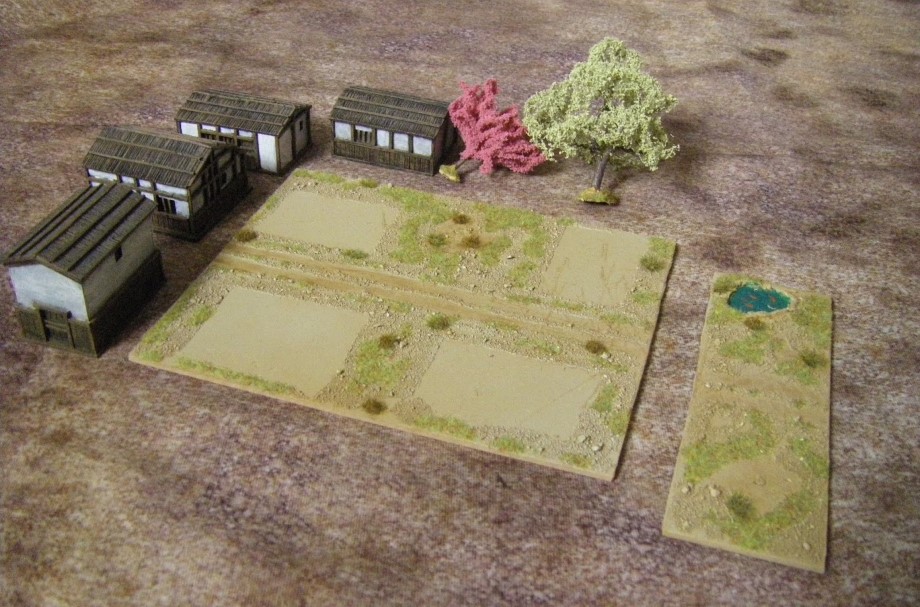
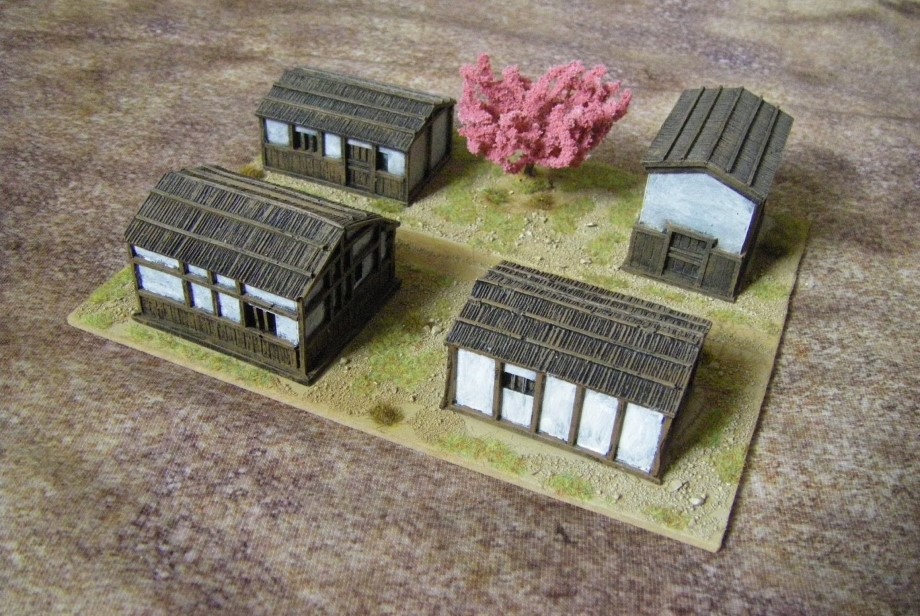
I have also made a Samurai town, in 2 pieces so it can be maximum sized terrain for 200 or 300 point games.
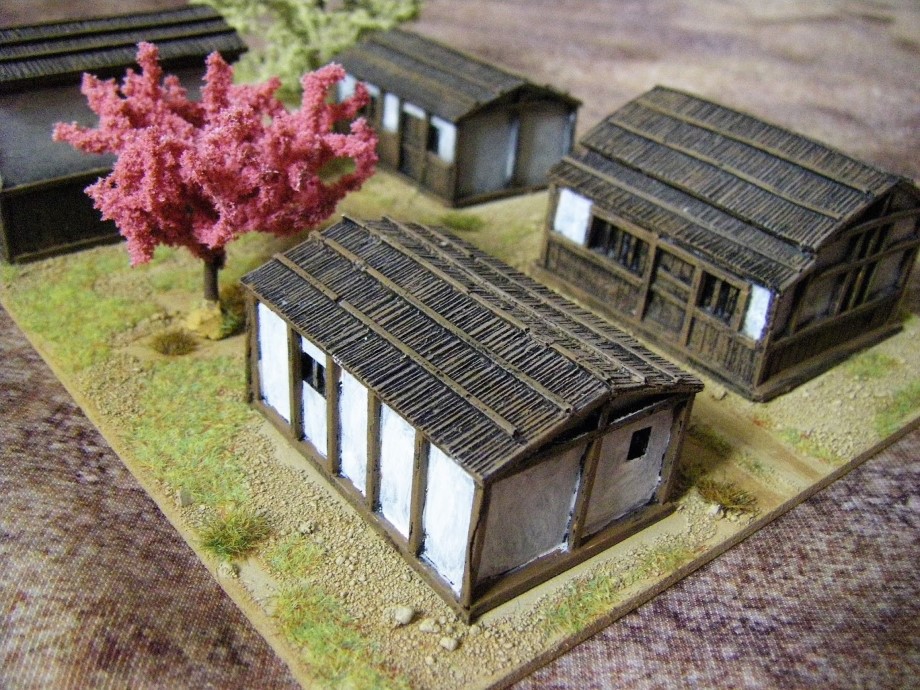
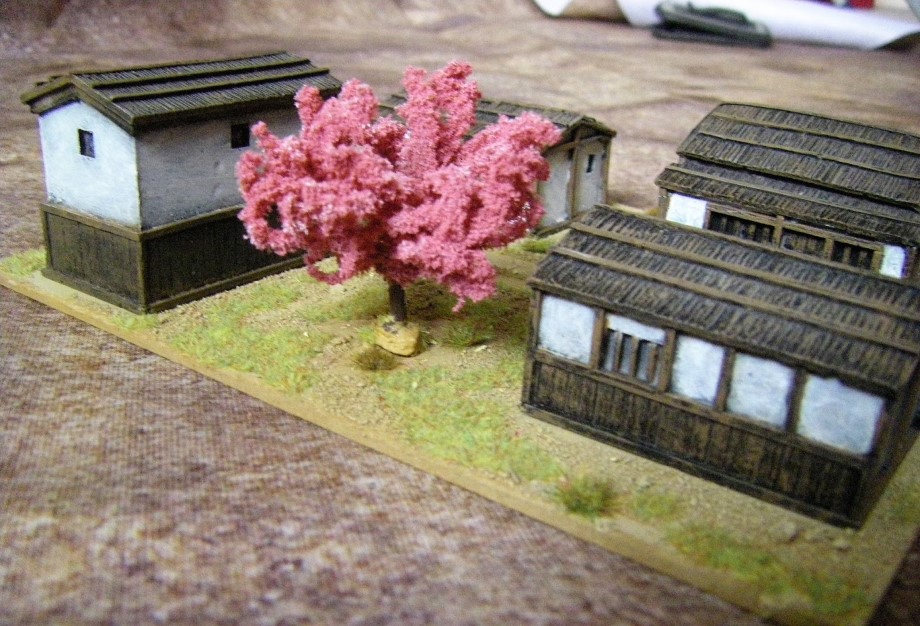
All of the buildings are from Oshiro Model Terrain, which have already appeared on my blogger site. They were painted by me with a black undercoat and then drybrushed Army Painter Leather Brown for the wood, and white for the panels.
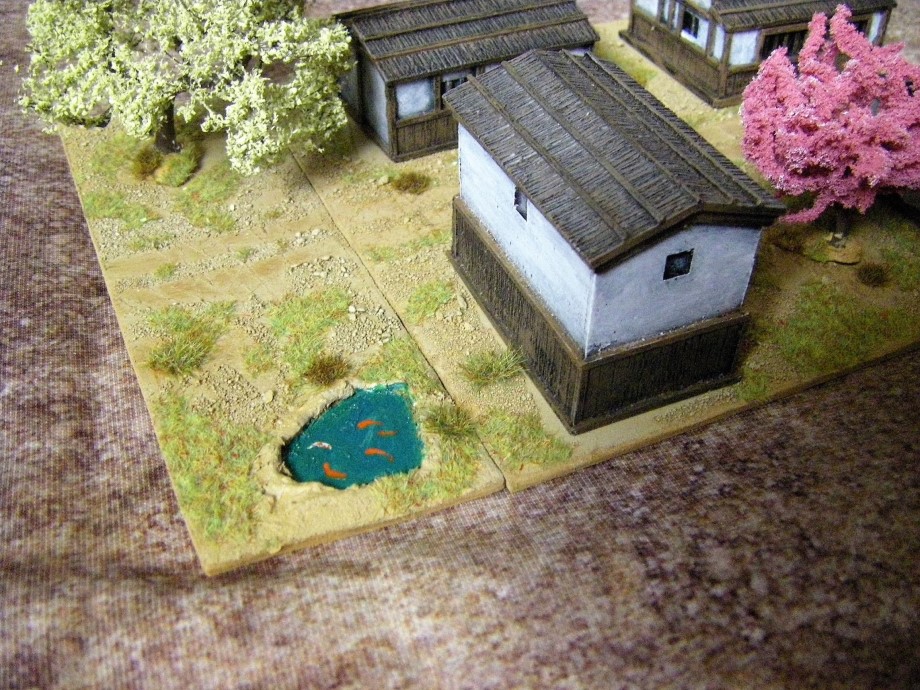
Look carefully and you may see that the pond has some Koi carp painted in it.
Expensive Koi carp
The trees come from Model Tree Shop - a little more expensive than usual, but they do need to be as good as the houses.
The terrain cloth is from Tiny Wargames and had it's first outing at Usk 2018
The mdf baseplate has had sand glued to it, a spray coat of ArmyPainter Desert Yellow followed by a dusting coat of Skeleton Bone
All of the buildings are just placed on the mdf baseplate.
And, of course, the trees are also held in place with rare earth magnets. Because, well, why not go the whole hog eh?
The smaller section turns the main 200 point baseplate into a 300 point sized terrain piece, and with all of the pieces able to be taken off, it now works for the game as well as aesthetically.
Traditional Japanese Houses
I did need to drybrush the cherry blossom tree as it was a bit violently pink when I got it originally.
But, after the army and the village - what to do next? Well, the Samurai army really is expensive base for base, and so a waterway is a near-must (if you can roll for it) to narrow the table. In ADLG there are however no naval units, so a Waterway is simply a narrower table with an impassable obsstacle running down one side of it. A Waterway is a tad dull, so why not use some Foamcore and copy the construction techniques of my Malifaux town to make a Samurai Castle Wall?
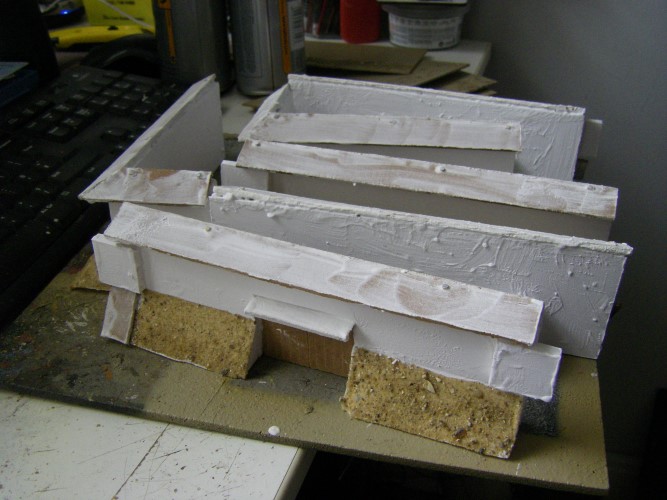
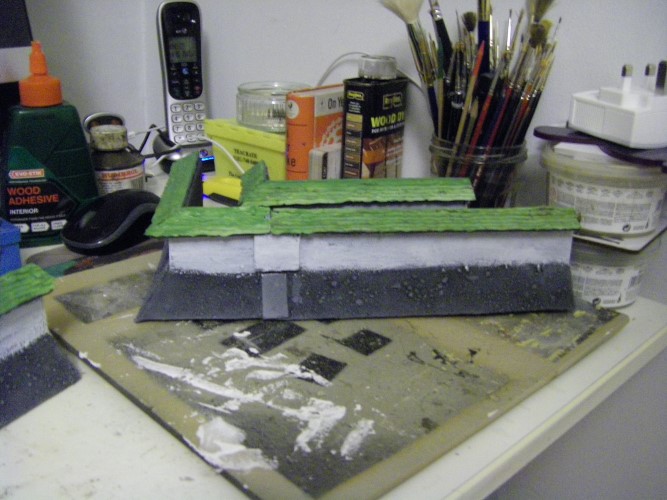
This is the very rough initial construction, showing Foamcore for the walls, and 2mm MDF sheet for the rooftops.
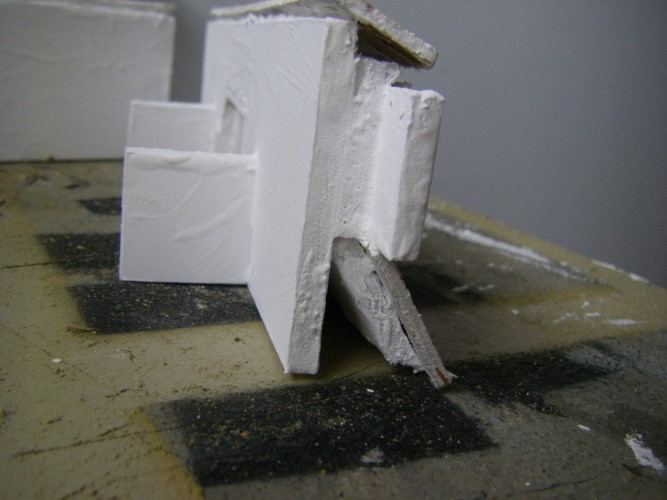
This is a sectional view showing how the wall is constructed. My aim was to avoid as many diagonal cuts (across the foamcore) as possible and keep them all at right angles to the surface. Only the point at which the sloping glacis wall meets the ground is a 45 degree cut.
Samurai Architecture
The Foamcore has been "painted" with thinned down standard wall plaster which covers the shiny surfaces, adds texture to the walls and most importantly soaks into the "foam" bits of the foamboard as otherwise they would most likley melt and collapse once they are sprayed with car paint at a later stage.
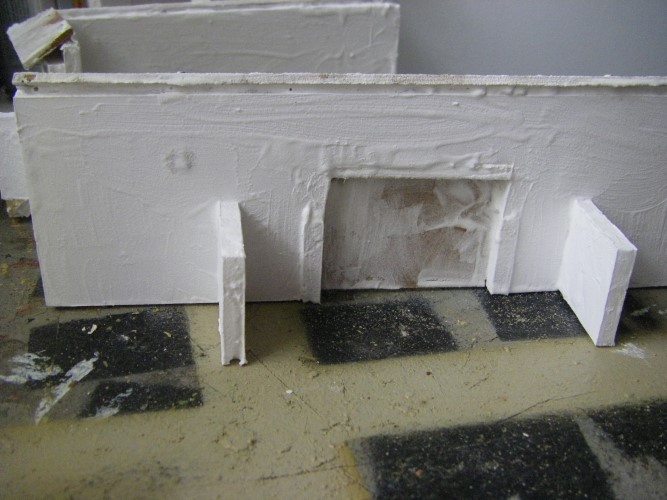
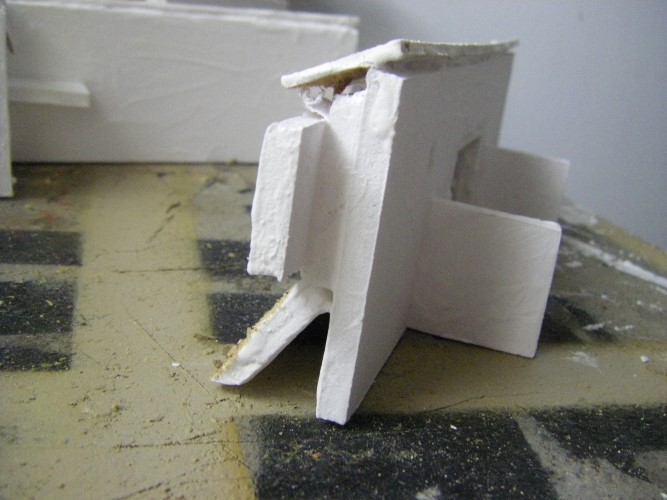
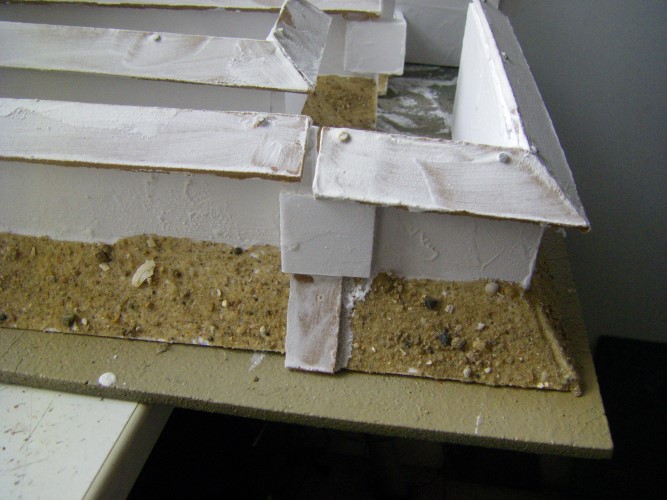
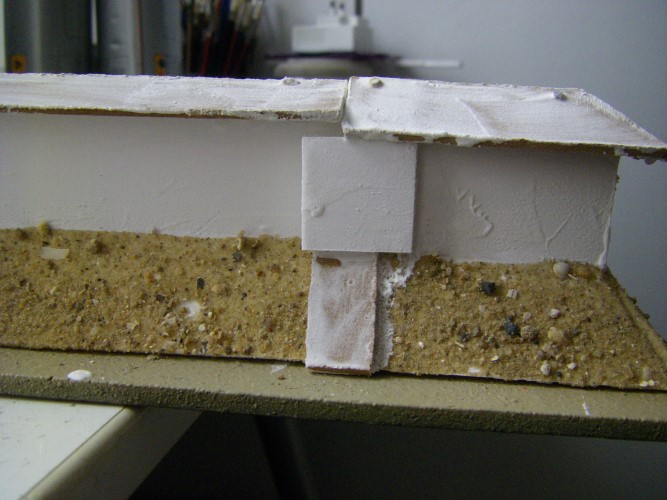
This is another cross sectional angle of the main gate section. As the walls are in 20cm wide sections this potentially leaves loads of unsightly join lines, so I have added some overlapping elements to the design to cover up the joins on the front face of the wall. Here you can also see how well the plaster has coated, and soaked into the foamcore board.
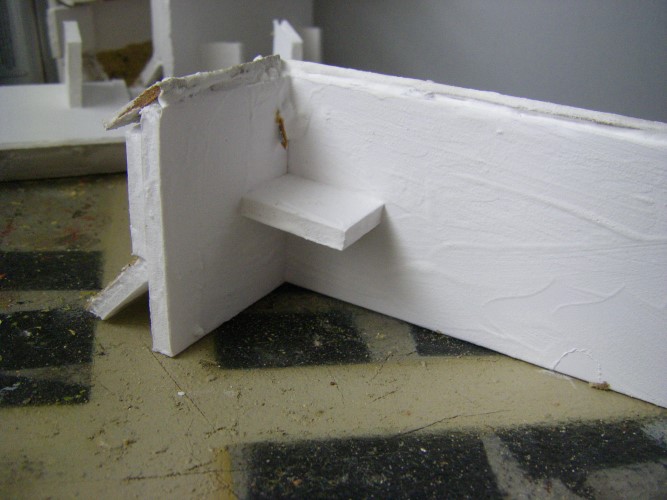
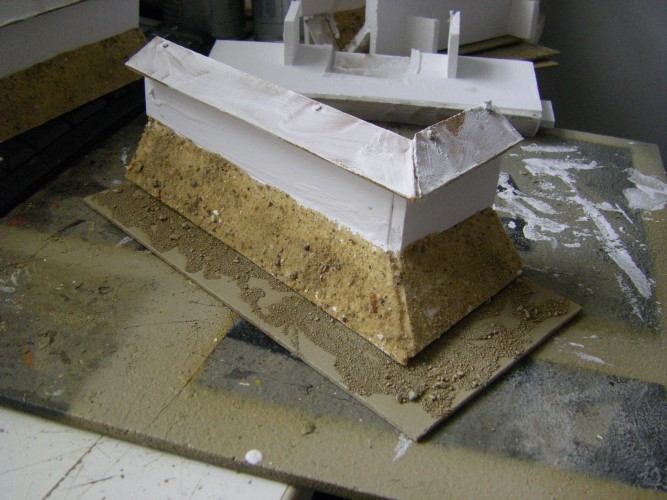
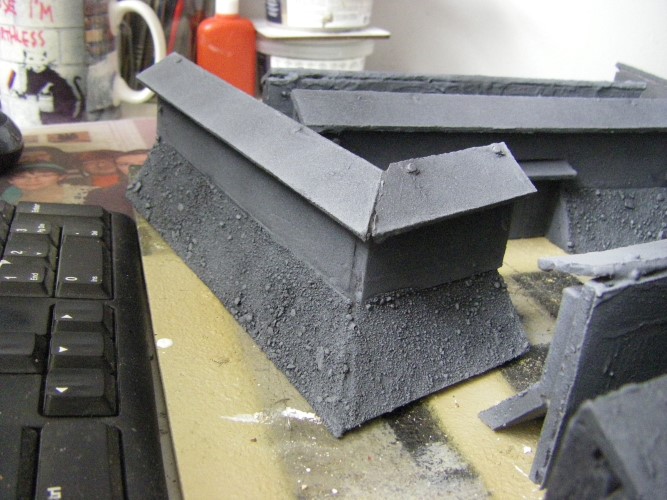
The Castle has corners at either end, and this shows the rear wall of such a corner - with a bracing piece. I guess if I was really fussed I could build in a walkway along the ramparts, but this is a non-functional aesthetically pleasing castle wall to represent a waterwat, rather than a gaming piece to be fought over.
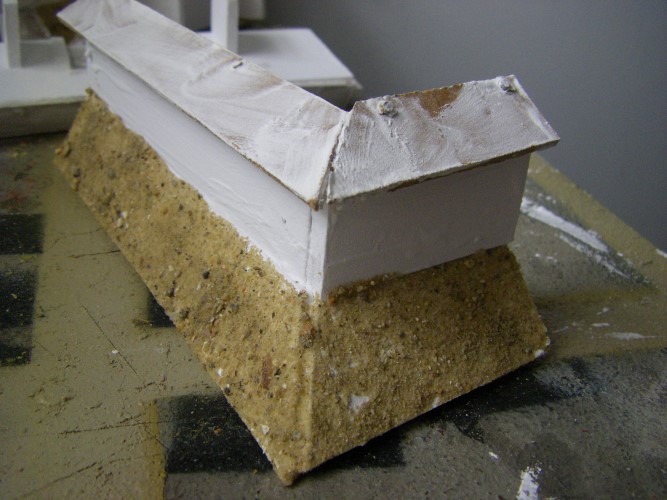
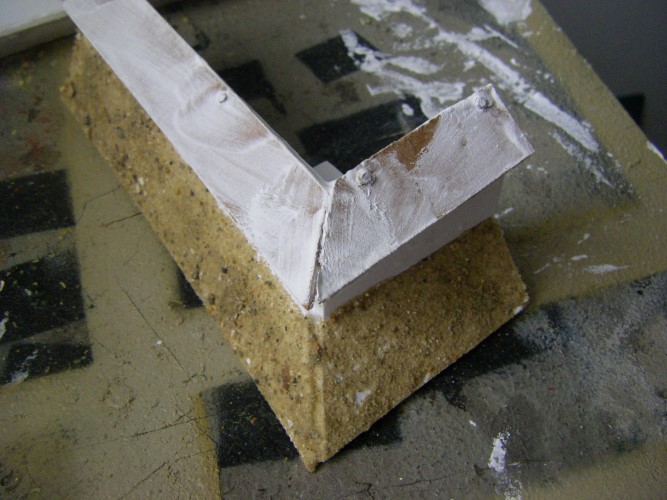
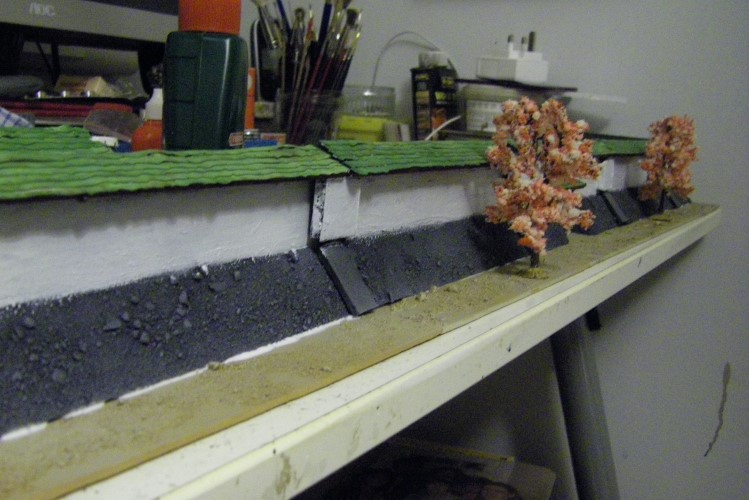
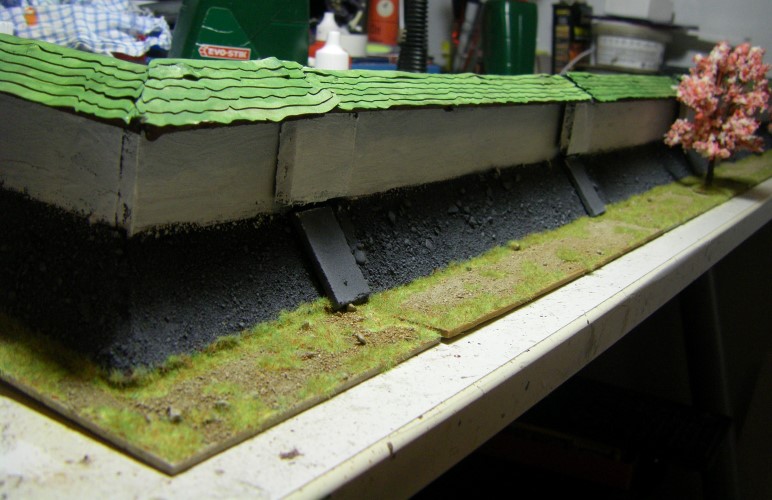
After covering with plaster, the glacis slopes have been covered with glued on builders sand. The join between the two slopes was tricky, and needs a second layer of sand and glue to take away the rather obviously built effect here.
Samurai Architecture
The roof at this stage is 2mm MDF which is both glued in place and fastened into the walls with bent small nails pushed and glued with PVA into the foarcore walls. Its a mess, but I have a plan to cover it later..
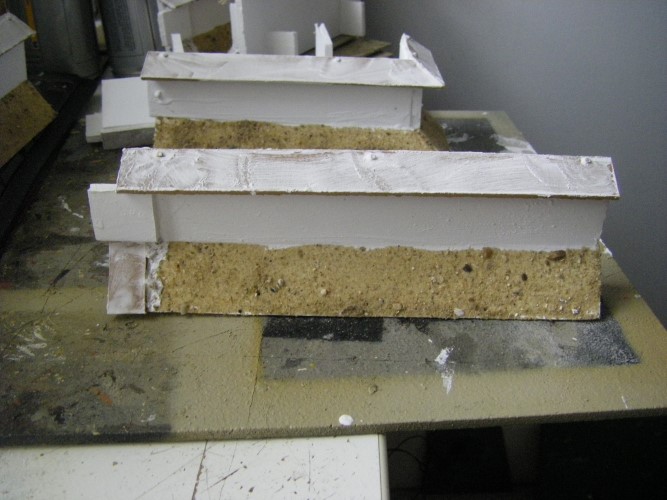
Here's a front view of a standard wall section, showing the overlapping elements clearly. You need to remember to just build these all on one end of each section - I forgot!
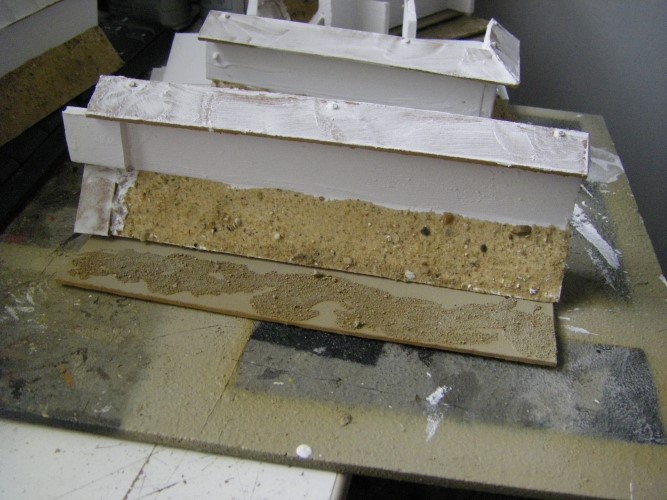
And, the same section perched (but not yet glued) onto a 20cm wide base board with sand and a spray coat (to match the village)
The corner sections were deeper than I planned, so they overlap the sand on the base plate a little. Each baseplate is 20x10cm
This starts to show how the overlapping elements will hide the joins.
From the front its even clearer
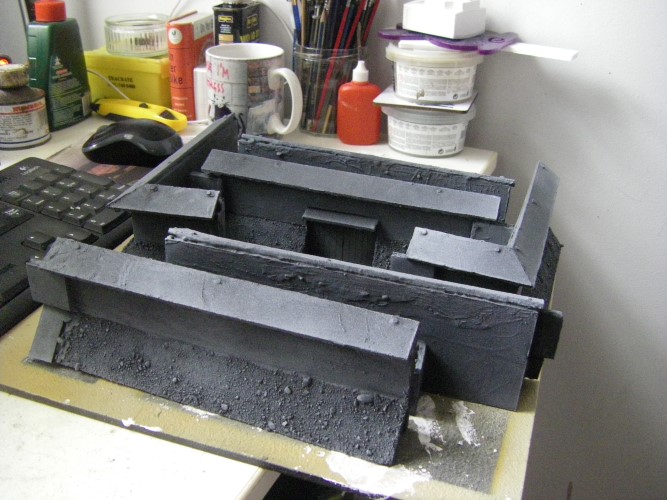
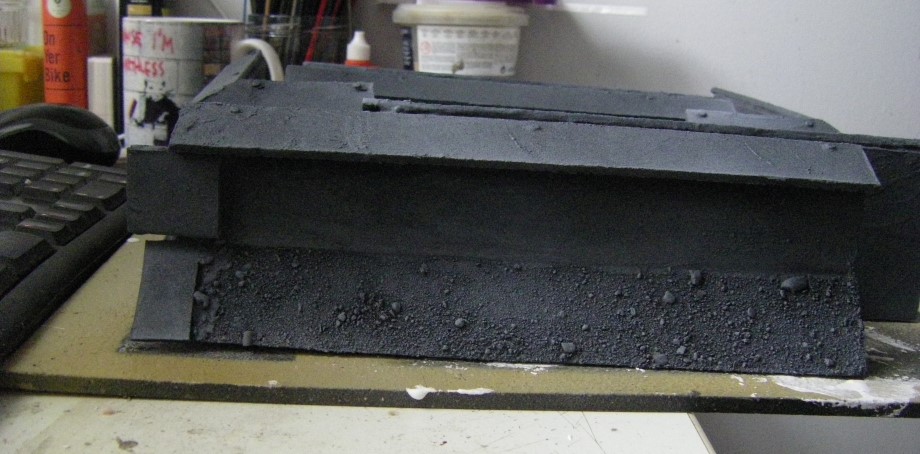
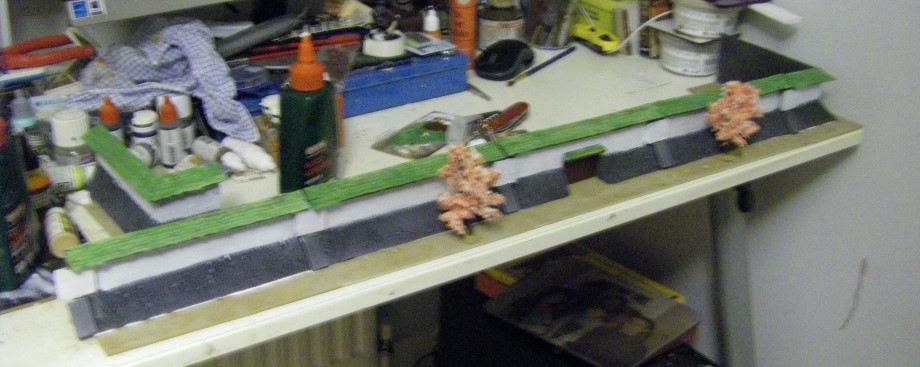
And, as if by magic.... they go grey! The trick to this is to spray them properly black first, let is dry and then do a light, wafty coating of grey from a greater distance than you'd normally do. I just use Halfords car primer tins of matt black and matt grey, as they are cheap and give great coverage with a really thin but opaque coating. Being car respray paint they are formulated to stick to metal as well - and are quick drying - but they do smell, so you need to spray outside if at all possible.
The aim of the grey overspray is to get to a drybrushed-like stonework effect on the sand glacis slope. The rest will be painted over
Note that they haven't been glued to the baseplates yet - otherwise it's a lot of wasted spraying of sand on them !
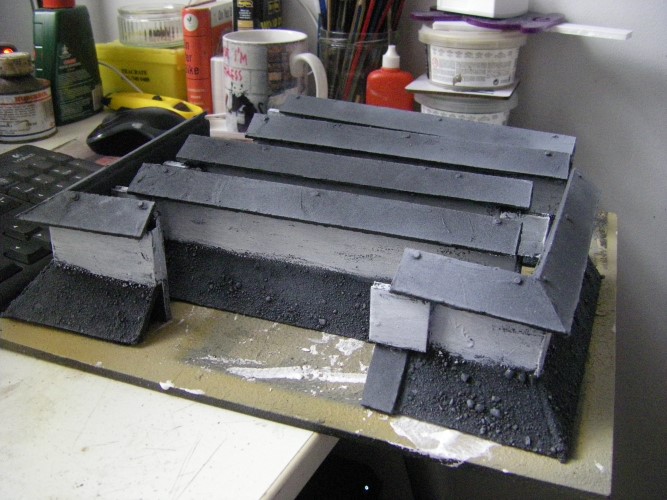
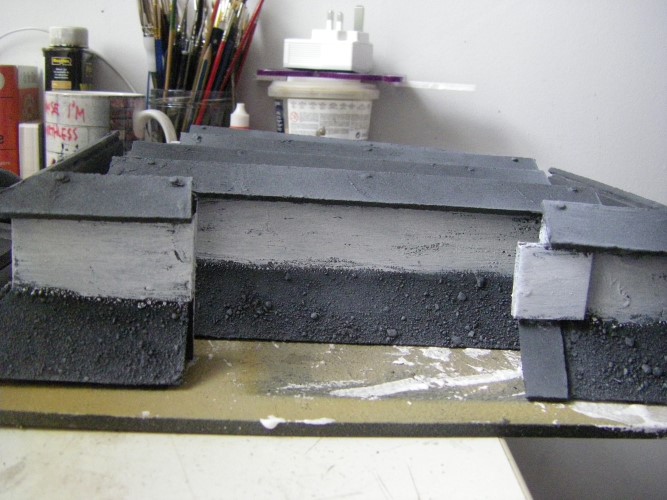
Then, the Samurai paint scheme starts to emerge. A hefty wet brush/drybrush of white on the walls above the exposed stone glacis plates.
Several drybrushed coats is IMO better than solid coverage, as then it picks up the texture of the plaster on the wall much better.
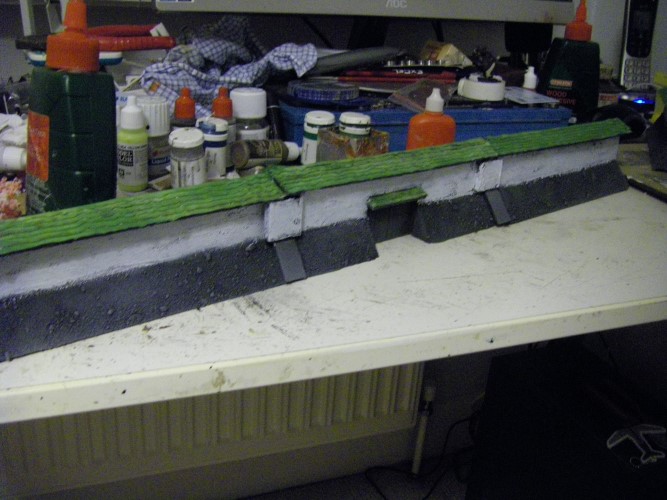
Jumping 2 stages here, the roofing has been given a few layers of Warbases roof tile paper, again glued on with PVA and then painted green for contrast and all round Samurai style. This is around 5 tiers of the roofing tile paper stuff, which I've used before to great effect.
A corner section joined to a front piece - can you see the join? I thought not...
Here's 4 front sections and a corner being glued down to the base plates. They needed to be glud in sequence, letting each one dry first so the adjacent one could be forced into position without the first piece sliding around before the glue had dried.
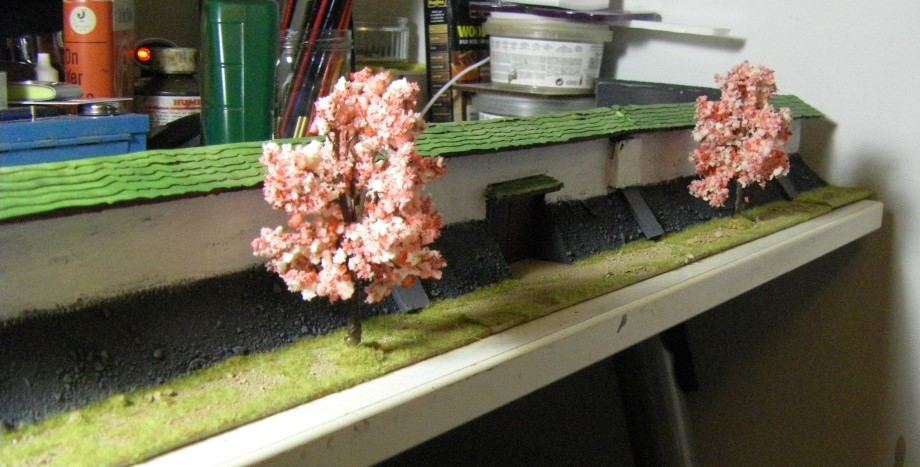
You can see the hefty layer of PVA wood glue under the wall. The trees are Faller model railway trees with rare earth magnets
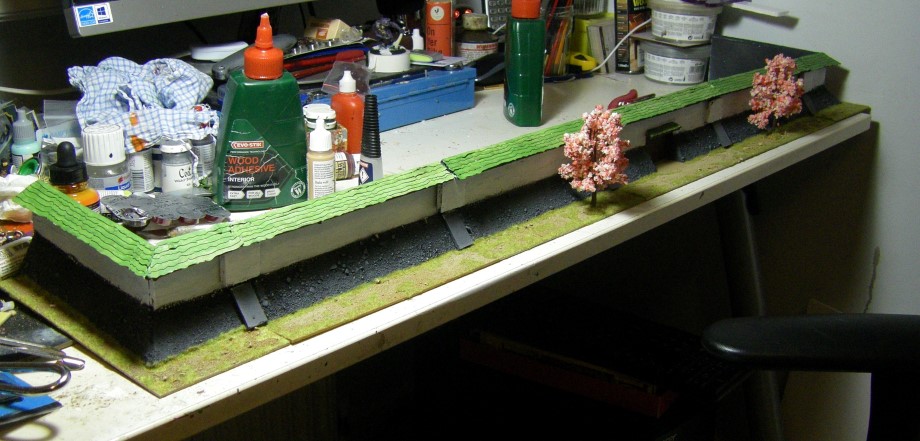
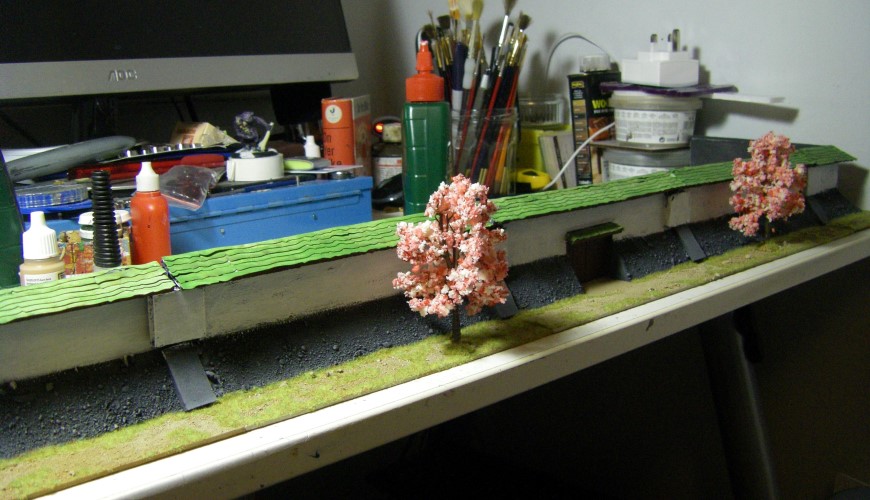
This is the full set, with flock added to the baseplate as well, often butting up aganst the glacis to hide any gaps between the wall and the bases
The trees add a spot of colour
Close up you can see the rooflines don't quite join up. I did think about adding some overlapping roofing elements to the roofline to hide these joins too but on balance felt that might make the whole thing look a little less Japanese and more South East Asian due to an abundance of rooflines. And anyway, the wow factor is in the scale of it anyway - no-one should be quibbling on details like the roofline!
Trees either side of the main gate suggest a time of peace. Oh well...
Lets hope they get on table !
Back to the Links Page
